
What Happens During a Professional Tub Refinishing Job?
 By Lisa McCabe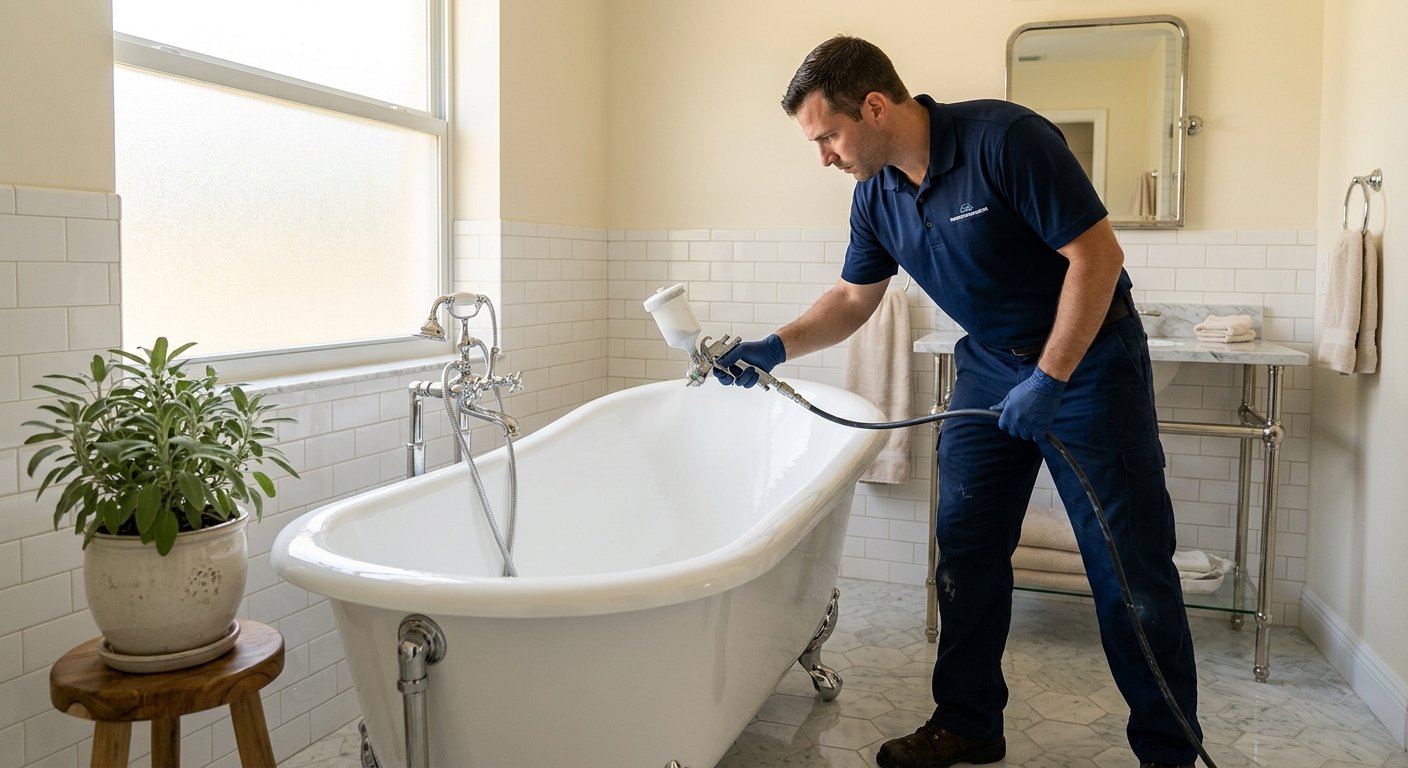
Your bathtub looks rough. Maybe the enamel has worn dull, the color is a dated beige from the 1980s, or there are chips and stains that no cleaner can touch. You’ve looked into replacement, and the quotes came back eye-opening. That’s usually the moment people start searching for refinishing — and immediately wonder: what exactly does that process involve?
It’s a fair question. Refinishing isn’t something most homeowners have watched up close, and the results can look dramatic enough that people are skeptical before they see it. Here’s an honest, ground-level look at how a professional tub refinishing job actually works, from the first mask of tape to the moment you’re cleared to use the tub again.
Why the Process Matters as Much as the Product
Surface refinishing — sometimes called reglazing or resurfacing — is the process of applying commercial-grade coatings directly over your existing tub, in place, without removing it. The finished product is only as good as the preparation underneath it. A proper multi-step process is what separates a refinish that holds up for years of daily use from one that peels within months.
At Artistic Refinishing, we’ve been doing this work across South Florida since 1994. The five-step process hasn’t changed in its fundamentals, because those fundamentals work. Here’s what each step actually looks like inside your bathroom.
Step 1: Mask and Protect Everything Around the Tub
Before any chemical or coating touches your tub, the entire surrounding area gets protected. That means plastic sheeting and painter’s tape over tile, walls, fixtures, the floor, and any adjacent surfaces. The drain gets masked off. Ventilation is set up — typically a window fan or portable ventilator — to move air out of the bathroom during the coating phase.
This step takes real time to do right. Sloppy masking leads to overspray on grout lines, chrome fixtures, and flooring. You’ll also notice we bring in low-odor, low-VOC materials, which means customers can remain at home during the work — though staying out of the bathroom while coatings are being applied and curing is important.
Step 2: Sanding the Existing Surface
Once everything is protected, we sand the entire tub surface. This isn’t about stripping it down to bare steel or fiberglass — it’s about creating mechanical adhesion. Coatings bond far better to a lightly abraded surface than a smooth or glazed one. We use wet-sanding techniques that keep dust minimal, which matters in the tight quarters of a South Florida condo bathroom.
Any chips, cracks, or divots in the surface get repaired at this stage with a compatible filler material. That’s also when we address hard-water staining or soap scum buildup that has etched into the surface over years. In older homes across Boca Raton, Delray Beach, and Boynton Beach, we routinely see 30- or 40-year-old fixtures that have never been resurfaced — the sanding and prep work they need is more thorough, but the outcome is just as clean.
Step 3: Chemical Wash and Surface Cleaning
Sanding alone isn’t enough. After abrading the surface, we apply a chemical wash — a professional-grade cleaner that removes any remaining oils, soap residue, cleaning products, and contaminants at the microscopic level. This is a step that’s easy to skip and devastating to skip. Any contamination left under the primer or finish coat creates adhesion failure later.
The tub surface is then allowed to dry fully before coating begins. Rushing this stage is one of the most common causes of early refinish failure, which is why professional timelines matter. A job that’s done too fast is usually a job done wrong.
Step 4: Two Coats of Self-Etching Primer
Primer is the foundation of the entire system. We spray-apply two coats of self-etching primer, which chemically bonds to the prepared substrate — whether that’s porcelain, enamel-on-steel, acrylic, fiberglass, or cultured marble. “Self-etching” means the primer actively promotes adhesion rather than just sitting on top of the surface. Each coat is allowed to flash off (dry to the touch) before the next goes on.
This two-coat primer system is what allows the finish coats to adhere durably over time, even in the humid, high-moisture environment of a South Florida bathroom. According to the U.S. EPA’s Safer Choice program, proper surface preparation and the use of low-VOC coatings are both critical factors in coating performance and indoor air quality — two things we take seriously on every job.
Step 5: Three to Four Spray-Applied Commercial Finish Coats
This is the step most people picture when they think of refinishing — and it’s where the visual transformation happens. We spray-apply three to four coats of commercial-grade finish using professional spray equipment, not brushes or rollers. Each coat is built up in thin, even passes that level out into a smooth, consistent surface as they cure.
The result doesn’t look painted-on. It looks like a factory finish, with the even sheen and depth you’d expect from a new tub. Colors are virtually unlimited — we can match any standard color or work from a custom chip. A common request in South Florida is replacing outdated harvest gold, avocado, or bisque tubs with bright white, bone, or a modern gray.
The spray application process takes skill and equipment. Runs, sags, or uneven buildup happen when technique or equipment isn’t dialed in. This is where 30+ years of experience actually shows — not in the sales pitch, but in the finish coat.
After the Work: Cure Time and What to Expect
Once the finish coats are applied, the tub needs to cure before use. Plan on 24 to 48 hours before normal use — no water, no contact, no cleaning products on the surface during that window. Rushing the cure is one of the fastest ways to damage a fresh refinish.
After the cure period, the surface is ready for regular use. Proper care going forward — mild, non-abrasive cleaners, no scrub brushes or harsh chemicals — is what determines how well the finish holds up over time. We’re always honest with customers: the refinish can look great and hold up well for many years with proper maintenance, but we don’t make forever-guarantees because how a surface is cared for matters.
We also offer non-slip safety treatments that can be applied to the tub or shower floor — a popular option for older homeowners and for rental units where liability is a concern. The U.S. Consumer Product Safety Commission identifies bathtub and shower slips as one of the leading causes of in-home injury, making non-slip surfaces a practical addition worth considering.
How Long Does a Tub Refinishing Job Take?
Most bathtub refinishing jobs are completed in a single day, often in just a few hours of hands-on work. The technician arrives, completes all five steps — masking, sanding, chemical wash, primer, and finish coats — and is done before the end of the afternoon. The 24–48 hour cure window begins from the time the final coat is applied.
For comparison, a full bathtub replacement involves demolition, plumbing disconnection, tile removal, new installation, re-tiling, re-grouting, and plumbing reconnection — a process that commonly takes multiple days and requires licensed contractors in multiple trades. Industry sources, including data cited by housing and remodeling publications, consistently show that surface refinishing costs a fraction of full fixture replacement. For anyone on a timeline — a rental unit to turn, a listing to prep, a renovation window in an HOA community — refinishing is often the only practical option.
For a deeper look at the shower-specific process, visit our shower refinishing page. For tile surfaces in the same bathroom, see our tile refinishing page.
Frequently Asked Questions
Will a refinished tub look painted, or will it look like a real tub surface?
A professionally spray-applied finish looks even, smooth, and consistent — much closer to a factory surface than anything applied by brush or roller. The spray technique levels out to a uniform sheen as it cures. It won’t look identical to a brand-new cast iron tub in every case, but most homeowners are genuinely surprised by how clean and polished the result is.
Can fiberglass and acrylic tubs be refinished, or only porcelain?
Yes — fiberglass, acrylic, porcelain-on-steel, porcelain-on-cast-iron, and cultured marble can all be refinished. The preparation and primer chemistry are adapted to each substrate. The five-step process applies to all of them, with adjustments in how aggressively the surface is sanded and which primer formulation is used.
Is it safe to stay home during the refinishing process?
Yes. We use low-odor, low-VOC materials and set up ventilation before coating begins. Customers can stay in the home — just stay out of the bathroom while work is in progress and during the initial cure phase. The job is self-contained, and there’s no demolition dust or construction mess anywhere else in the house.
How soon can I use the tub after it’s been refinished?
Plan on 24 to 48 hours of cure time before normal use. That means no water, no cleaning, and no contact with the surface during that window. After the cure period, the tub is ready for regular daily use with mild, non-abrasive cleaning products.
When does replacement make more sense than refinishing?
Refinishing works best when the fixture is structurally sound and the goal is cosmetic restoration. If a tub has severe cracks through the shell, significant structural damage, or if a layout change is planned, replacement may be the right path. We’ll tell you honestly which applies to your situation — there’s no benefit to refinishing something that genuinely needs to be replaced.
Ready to See What Your Tub Could Look Like?
Artistic Refinishing has been doing this work across Palm Beach, Broward, Miami-Dade, Martin, and St. Lucie counties since 1994. If your tub is worn, stained, or just outdated, a professional refinish can bring it back — in a day, without demo, at a fraction of replacement cost.
Call us at 561-394-6116 to get a free estimate, or visit our tub refinishing page to learn more. Don’t replace it. Refinish it.