
How to Prep Your Bathroom for Tub Refinishing
 By Lisa McCabe

Prepping your bathroom for tub refinishing is straightforward: clear the space, clean the surface, and give the technician unobstructed access. A few simple steps on your end — removing toiletries, ventilating the room, and noting any chips or stains — help the job go smoothly and give you the best possible finish. This applies to any tub, shower, or bathroom surface being refinished in place.
- Clear all toiletries, rugs, and personal items from the bathroom the morning of your appointment.
- Good ventilation matters — open a window or run the exhaust fan before the technician arrives.
- Point out chips, cracks, or stains ahead of time so they can be addressed before coating begins.
- Plan to stay off the tub for 24–48 hours after refinishing to allow the finish coats to cure properly.
- Refinishing is done in place — no demolition, no debris, and you can remain home during the work.
Why Prep Actually Matters
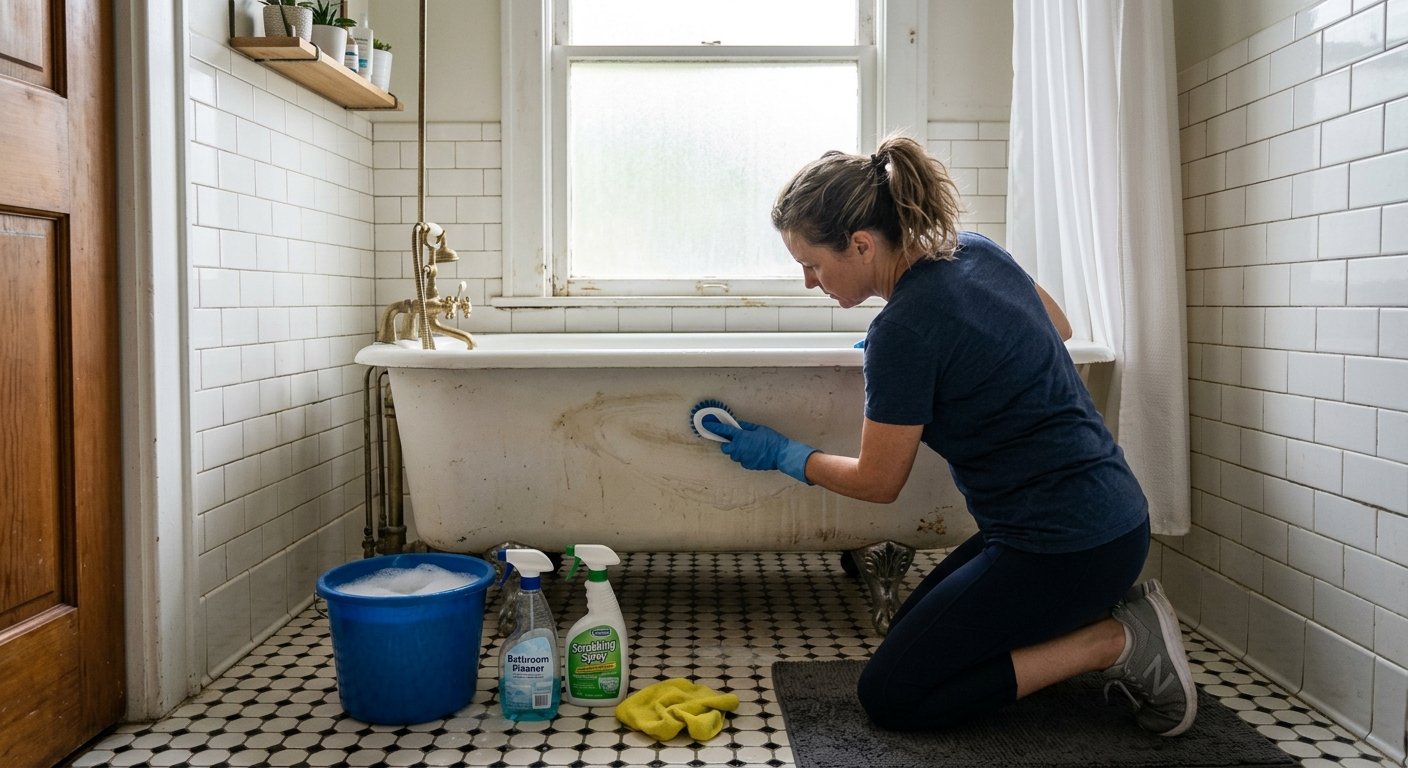
Bathtub refinishing — sometimes called reglazing or tub resurfacing — is a spray-applied coating process. The finish bonds directly to the existing surface, which means anything sitting on or embedded in that surface affects how well the coating adheres. Soap scum, body oils, silicone residue, and even hard-water mineral buildup can act as a barrier between the primer and the substrate. A thorough chemical wash and sanding are part of the professional process, but the cleaner and clearer the space is when the technician arrives, the more time they can spend on the finish itself rather than working around obstacles.
At Artistic Refinishing, the five-step process handles surface preparation professionally — masking and protecting surrounding areas, sanding, chemical washing, two coats of self-etching primer, and then three to four spray-applied commercial-grade finish coats. But there’s a meaningful difference between arriving to a ready bathroom and arriving to one full of shampoo bottles and wet towels. Your prep makes their prep faster, and that benefits the final result.
Take a photo of any existing chips, cracks, or discoloration the week before your appointment. Sharing those photos when you schedule helps the technician arrive with the right repair materials and color match — especially helpful for older South Florida homes where original fixture colors can be hard to identify.
Step-by-Step: What to Do the Day Before
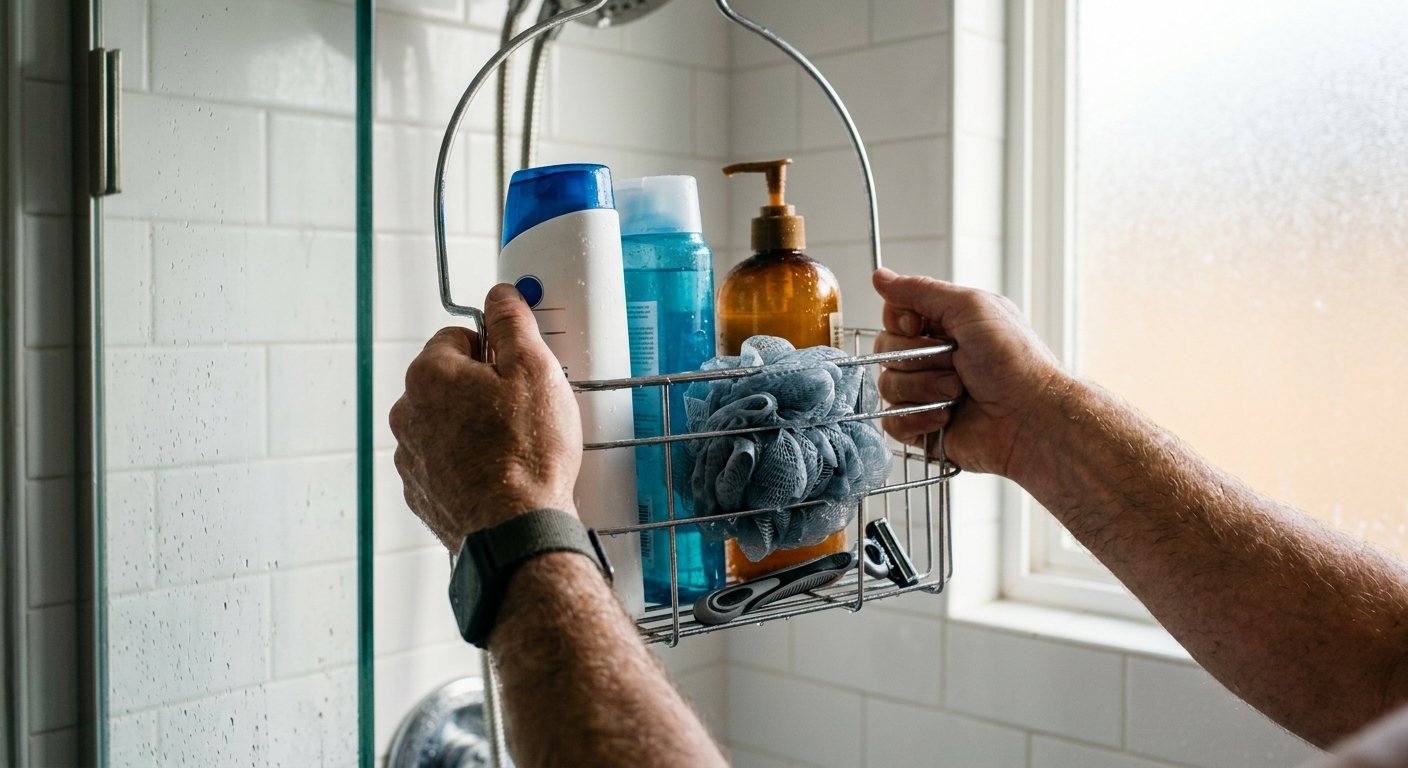
Remove everything from the tub and shower area
Shampoo, conditioner, razors, soap dishes, loofahs — take it all out. Remove any removable caddies, shelves, or hanging organizers. The technician needs to mask and coat around the drain, fixtures, and tile edges, and any object left behind becomes a complication.
Clear the bathroom floor and vanity
Bath mats, rugs, and towels should be moved out of the room. Items on the vanity counter should be relocated too, since the technician will be masking adjacent surfaces and spraying in a contained space. Think of it like painting a room — you wouldn’t leave furniture in the middle of the floor.
Run the exhaust fan and open a window if possible
Artistic Refinishing uses low-odor, low-VOC materials, but ventilation still helps move air through the space during application and curing. A working exhaust fan makes a real difference. If your bathroom fan doesn’t work well, now is a good time to mention it — the technician can work with a window cracked instead.
Don’t apply any cleaners or products the morning of
Skip the bleach spray or tile cleaner the morning of the job. Some household cleaners — especially those with wax or film-forming agents — can interfere with how the chemical wash performs. If the tub needs a quick rinse the night before, that’s fine. Just leave it dry and product-free by appointment time.
Point out problem areas before work begins
Walk the technician through any chips, soft spots, stains, or past repairs before they start masking. Old caulk that’s pulling away, a rust stain near the drain, or a crack along the rim — all of these can be addressed as part of the prep, but only if they’re flagged early. Surface repairs are a normal part of what professional tub resurfacing crews handle, but they take time and material that’s easier to plan for in advance.
What Happens on Appointment Day
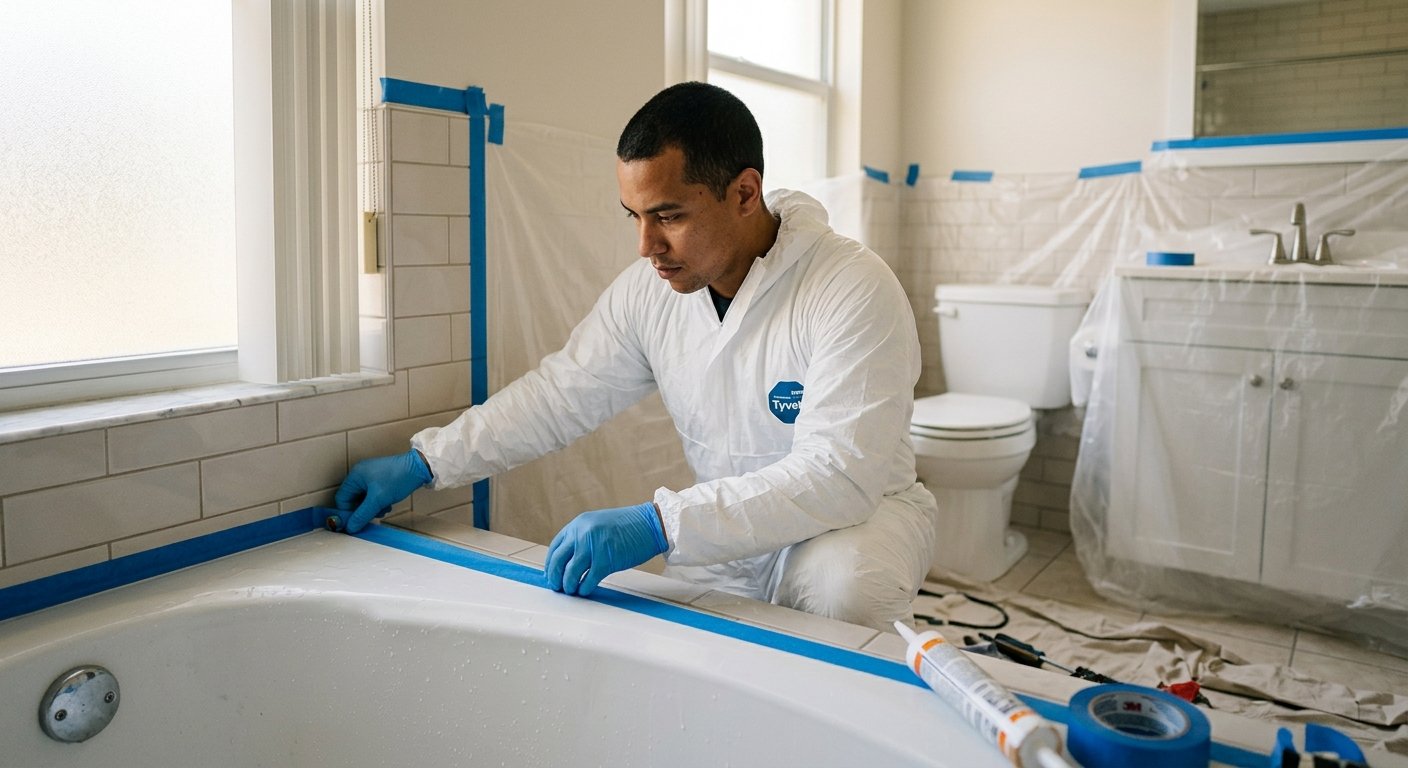
Once the technician arrives, the professional process takes over. The bathroom will be masked carefully — protecting adjacent tile, the toilet, the vanity, and any surfaces not being refinished. The tub is sanded to give the coating something to grip, then chemically washed to remove oils and residue at a molecular level. Two coats of self-etching primer go on before any finish coats are applied.
The finish itself is spray-applied — three to four commercial-grade coats that build a smooth, hard surface. This is why a professionally refinished tub doesn’t look “painted.” The spray application lays down an even, factory-like finish without brush marks. Learn more about the full bathtub refinishing process here.
A standard tub or shower job typically wraps up in a matter of hours. You can stay home during the work — there’s no demolition, no debris, no contractors hauling out a cast iron tub through your hallway. That matters a lot in South Florida condos where HOA rules often restrict when and how renovation work can happen.
There’s no demolition, no debris, and no contractor hauling cast iron through your hallway — just a like-new surface where the old one used to be.
The 24–48 Hour Cure Window
After the final coat is applied, the surface needs time to cure before normal use. Plan for a minimum of 24 hours, and 48 hours is better if your schedule allows. During that window, the tub should stay completely dry — no water, no contact. Caulk is typically applied at the end of the job along seams and edges, and that needs to set as well.
According to the U.S. EPA’s guidance on VOCs and indoor air quality, keeping spaces ventilated after coating applications is a sound practice — running the exhaust fan for a few hours after the technician leaves helps the curing process and clears the air. The low-VOC materials used by Artistic Refinishing help, but ventilation is still smart.
Don’t re-caulk or use the tub before the 24–48 hour cure period ends. The most common cause of early finish failure is water contact too soon after application. Patience here pays off in a longer-lasting result.
A Few South Florida Specifics Worth Knowing
Older homes and condos across Boca Raton, Delray Beach, Boynton Beach, and Fort Lauderdale often have cultured marble, fiberglass, or acrylic tubs from the 1980s and 1990s — all of which refinish well. Hard water from South Florida’s aquifer-fed municipal supply leaves mineral deposits that can etch into a tub’s surface over time. These are treatable, but they’re worth flagging when you schedule so the technician can plan appropriately.
If your tub is used frequently or was installed decades ago, non-slip safety treatments are also worth considering. Artistic Refinishing can apply a non-slip texture to the tub floor as part of the same job — a practical addition for households with older residents or young children. For those refinishing a shower or tile, the same prep principles apply, and tile refinishing is handled with similar masking and spray processes.
The National Association of Home Builders consistently notes that bathroom updates rank among the highest-return projects for homeowners — and refinishing gets you that visual refresh without the cost or timeline of a full gut renovation.
Frequently Asked Questions
Do I need to be home during the tub refinishing job?
You don’t have to be present the entire time, but someone should be available to provide access and do a walkthrough at the start and end of the job. Since there’s no demolition or major disruption, many homeowners stay home comfortably while the work is done. Just keep children and pets out of the bathroom during application.
Can I clean my tub right before the appointment?
A light rinse the night before is fine, but avoid using wax-based cleaners, bleach sprays, or any product that leaves a film on the morning of the appointment. The professional chemical wash handles deep cleaning as part of the prep process — you don’t need to scrub it spotless, just clear it out and leave it dry.
What if my tub has chips or cracks — does that change how I prep?
Not really, but you should flag those areas before the job starts. Chips and surface cracks are commonly repaired during the professional prep stage before primer goes on. Just point them out during the initial walkthrough so the technician arrives with the right materials and allocates enough time for the repair.
How long after refinishing can I use the tub?
Wait a minimum of 24 hours after the final coat is applied, and 48 hours is better when possible. Keep the surface completely dry during that window. Caulk along seams also needs time to set. Early water contact is the most common cause of finish problems, so the cure period is worth respecting.
Will the refinished tub look different from my tile or other fixtures?
Color matching is part of the process. Artistic Refinishing can match any color, including the original finish on older fixtures, and the spray-applied coating produces a smooth, even surface — not the uneven look you’d get from brush-on products. If you’re also refinishing surrounding tile or the vanity, everything can be coordinated to match.
Ready to schedule your tub refinishing?
Get a free estimate and find out how quickly Artistic Refinishing can give your bathroom a like-new finish — no demo, no delays, no mess.

About Artistic Refinishing
Don't replace it. Refinish it. Family-owned since 1994, Artistic Refinishing spray-applies commercial-grade coatings to bathtubs, showers, tile, countertops, cabinets, and vanities across South Florida — like-new results in days, at a fraction of the cost of replacement, with no demolition. Visit artisticrefinishing.com →